I love having a lazy Saturday to sew. Wake up a little too late, sew awhile, find something for lunch, sew a little more. Its one of my favorite things...
Today I would like to post a tutorial for making your own quilt labels. I like to label quilts for close, personal friends, family and ones I plan to keep. Here's how I do it.
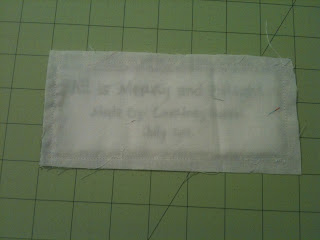
I start off by printing my little tag on printable fabric. You can buy this at any craft or fabric store. I always like to come up with a clever little title that goes along with the theme of the quilt. I also include my name and the month and year. I take a fabric that was used in the quilt and frame it out.
Sew all 4 pieces to the main tag. This really dresses it up in my opinion. I then trim it down to the size I think will be best for the size of the quilt.
Next, take a piece of fabric the same size of the tag. It does not matter what this is, you will never see it. I used muslin. Place the tag right side up and then place plain fabric on top. You are going to turn this inside out.
Sew 1/4 inch seam all around the edge.
Cut a small slit in the middle of the plain fabric. You are going to pull the printed tag through this hole. Press with an iron and push out the corner with a chopstick or other sewing tool. Do not worry about the slit. It is not going to show.
Here is what you will be left with. Beautiful tags! I try to do a few at a time since the printable fabric is not that cheap...
Now attach the tag to your quilt. I like to use the same stitch I use to attach binding so nothing is seen. Here you can see that it doesn't matter that there is a slit in the back fabric because it is sandwiched between the tag and the quilt. I think they really finish the quilts!


No comments:
Post a Comment